Visiting a sacred, remote, intensely beautiful place with women you connect with on a soul level….high on my list of favorite things to do. I consider myself incredibly fortunate to have secured four coveted lodge permits to visit the Havasupai Reservation in the Grand Canyon. Travel not only takes me to breathtaking destinations, but also gives me opportunities to gather up old friends to share in the adventure.
The logistics:
We flew into Las Vegas one day before the permit date, stopped for lunch and supplies and drove the 2 and half hours to the Hualapai Lodge. Pick up your permits at the Grand Canyon Caverns Inn, about 10 minutes from the Hualapai Lodge. Car camping is not allowed at the trailhead and the Hualapai Lodge is the closest you can stay, so it is the perfect spot to go through your gear one more time, repack and rest up for an early start. From the lodge, it is an hour drive to the trailhead. We planned to leave around 6 am, but downpour and flash flood warnings pushed back our start time until 7, meaning we didn’t start hiking until a little after 8:00. We lucked out with cloud cover and mild temperatures for the day, but depending on your conditions, an earlier start is usually recommended. It took us about three and a half hours to hike to the 8 miles to the village (the campsites are an additional 2 miles). There is no water along the trail, so be sure to bring enough to get you through the hike. Masks were still required in the village when we visited so check current guidelines and plan to bring one along. Please, please be sure to pack all your trash out, it was disheartening to see the amount of hiker created trash along the trail, in the village, and at the campsites.
The Story:
Day 1
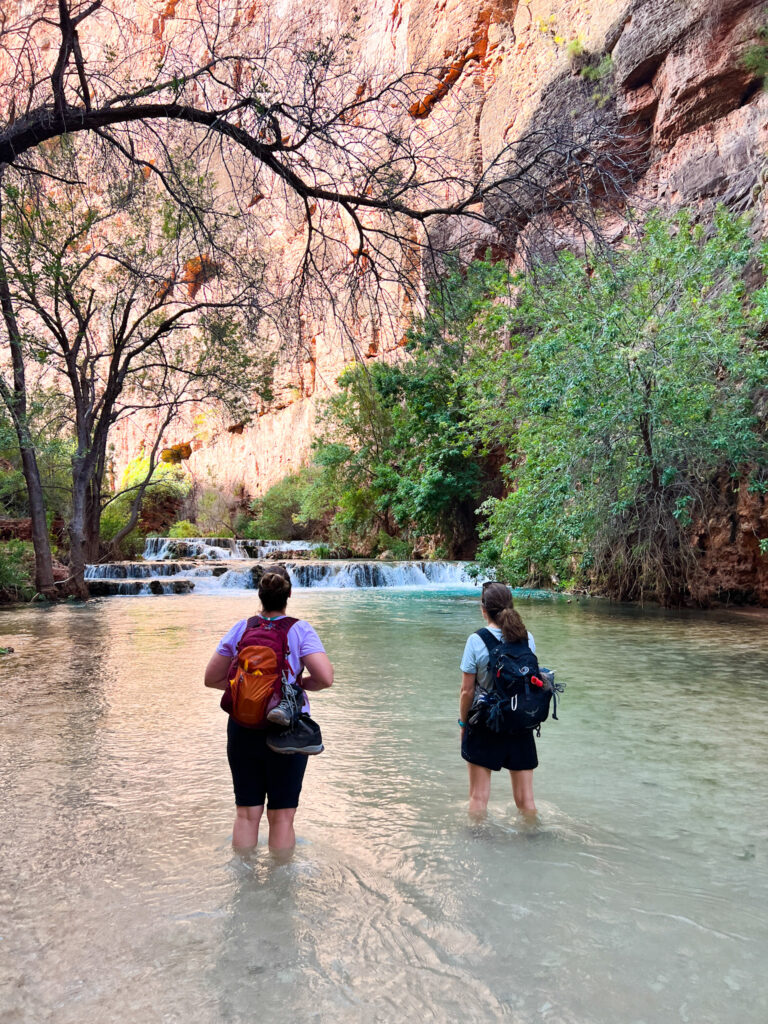
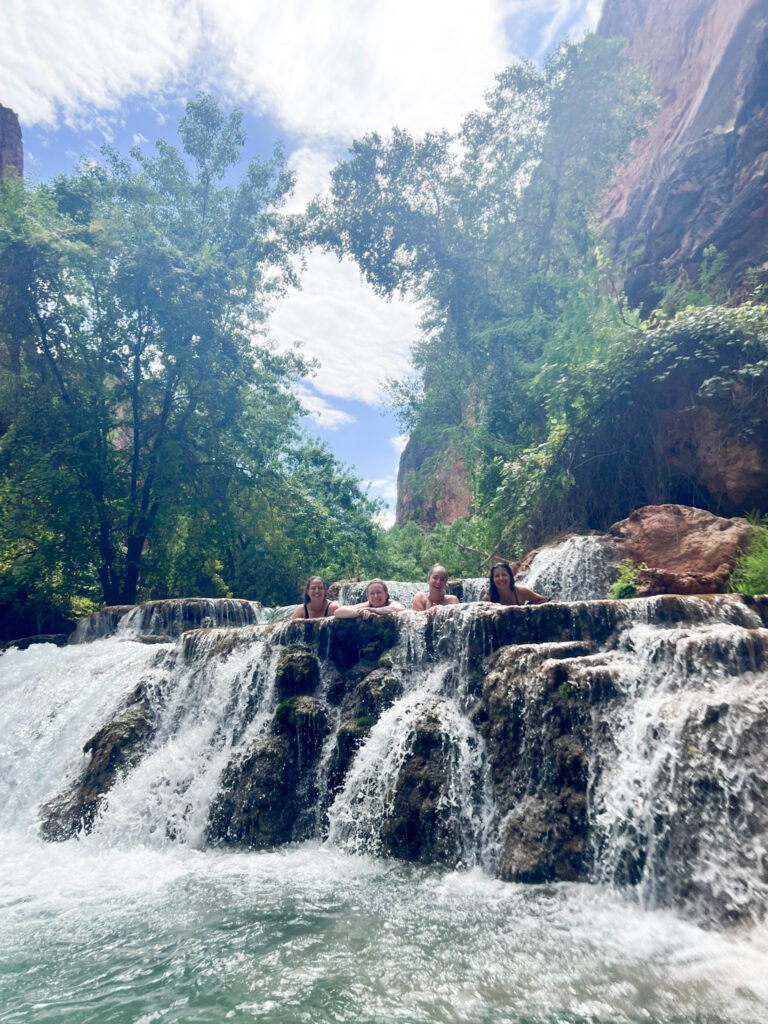
After arriving we checked into the lodge, we dropped our heavy packs and switched to our day packs. There are three falls located between the village and the campsites, Fifty Foot Falls, Navajo Falls & Little Navajo, and Havasu Falls. We headed straight past Fifty Foot and Navajo for a swim at Havasu Falls. This waterfall is probably the most famous and photogenic waterfall in the area. It felt SO good to jump in the cool pool and be misted in the face with the spray from this incredible natural wonder. We brought a hammock and a book and enjoyed a bit of relaxing downtime before heading back to the lodge for an early dinner and bedtime.
Day 2
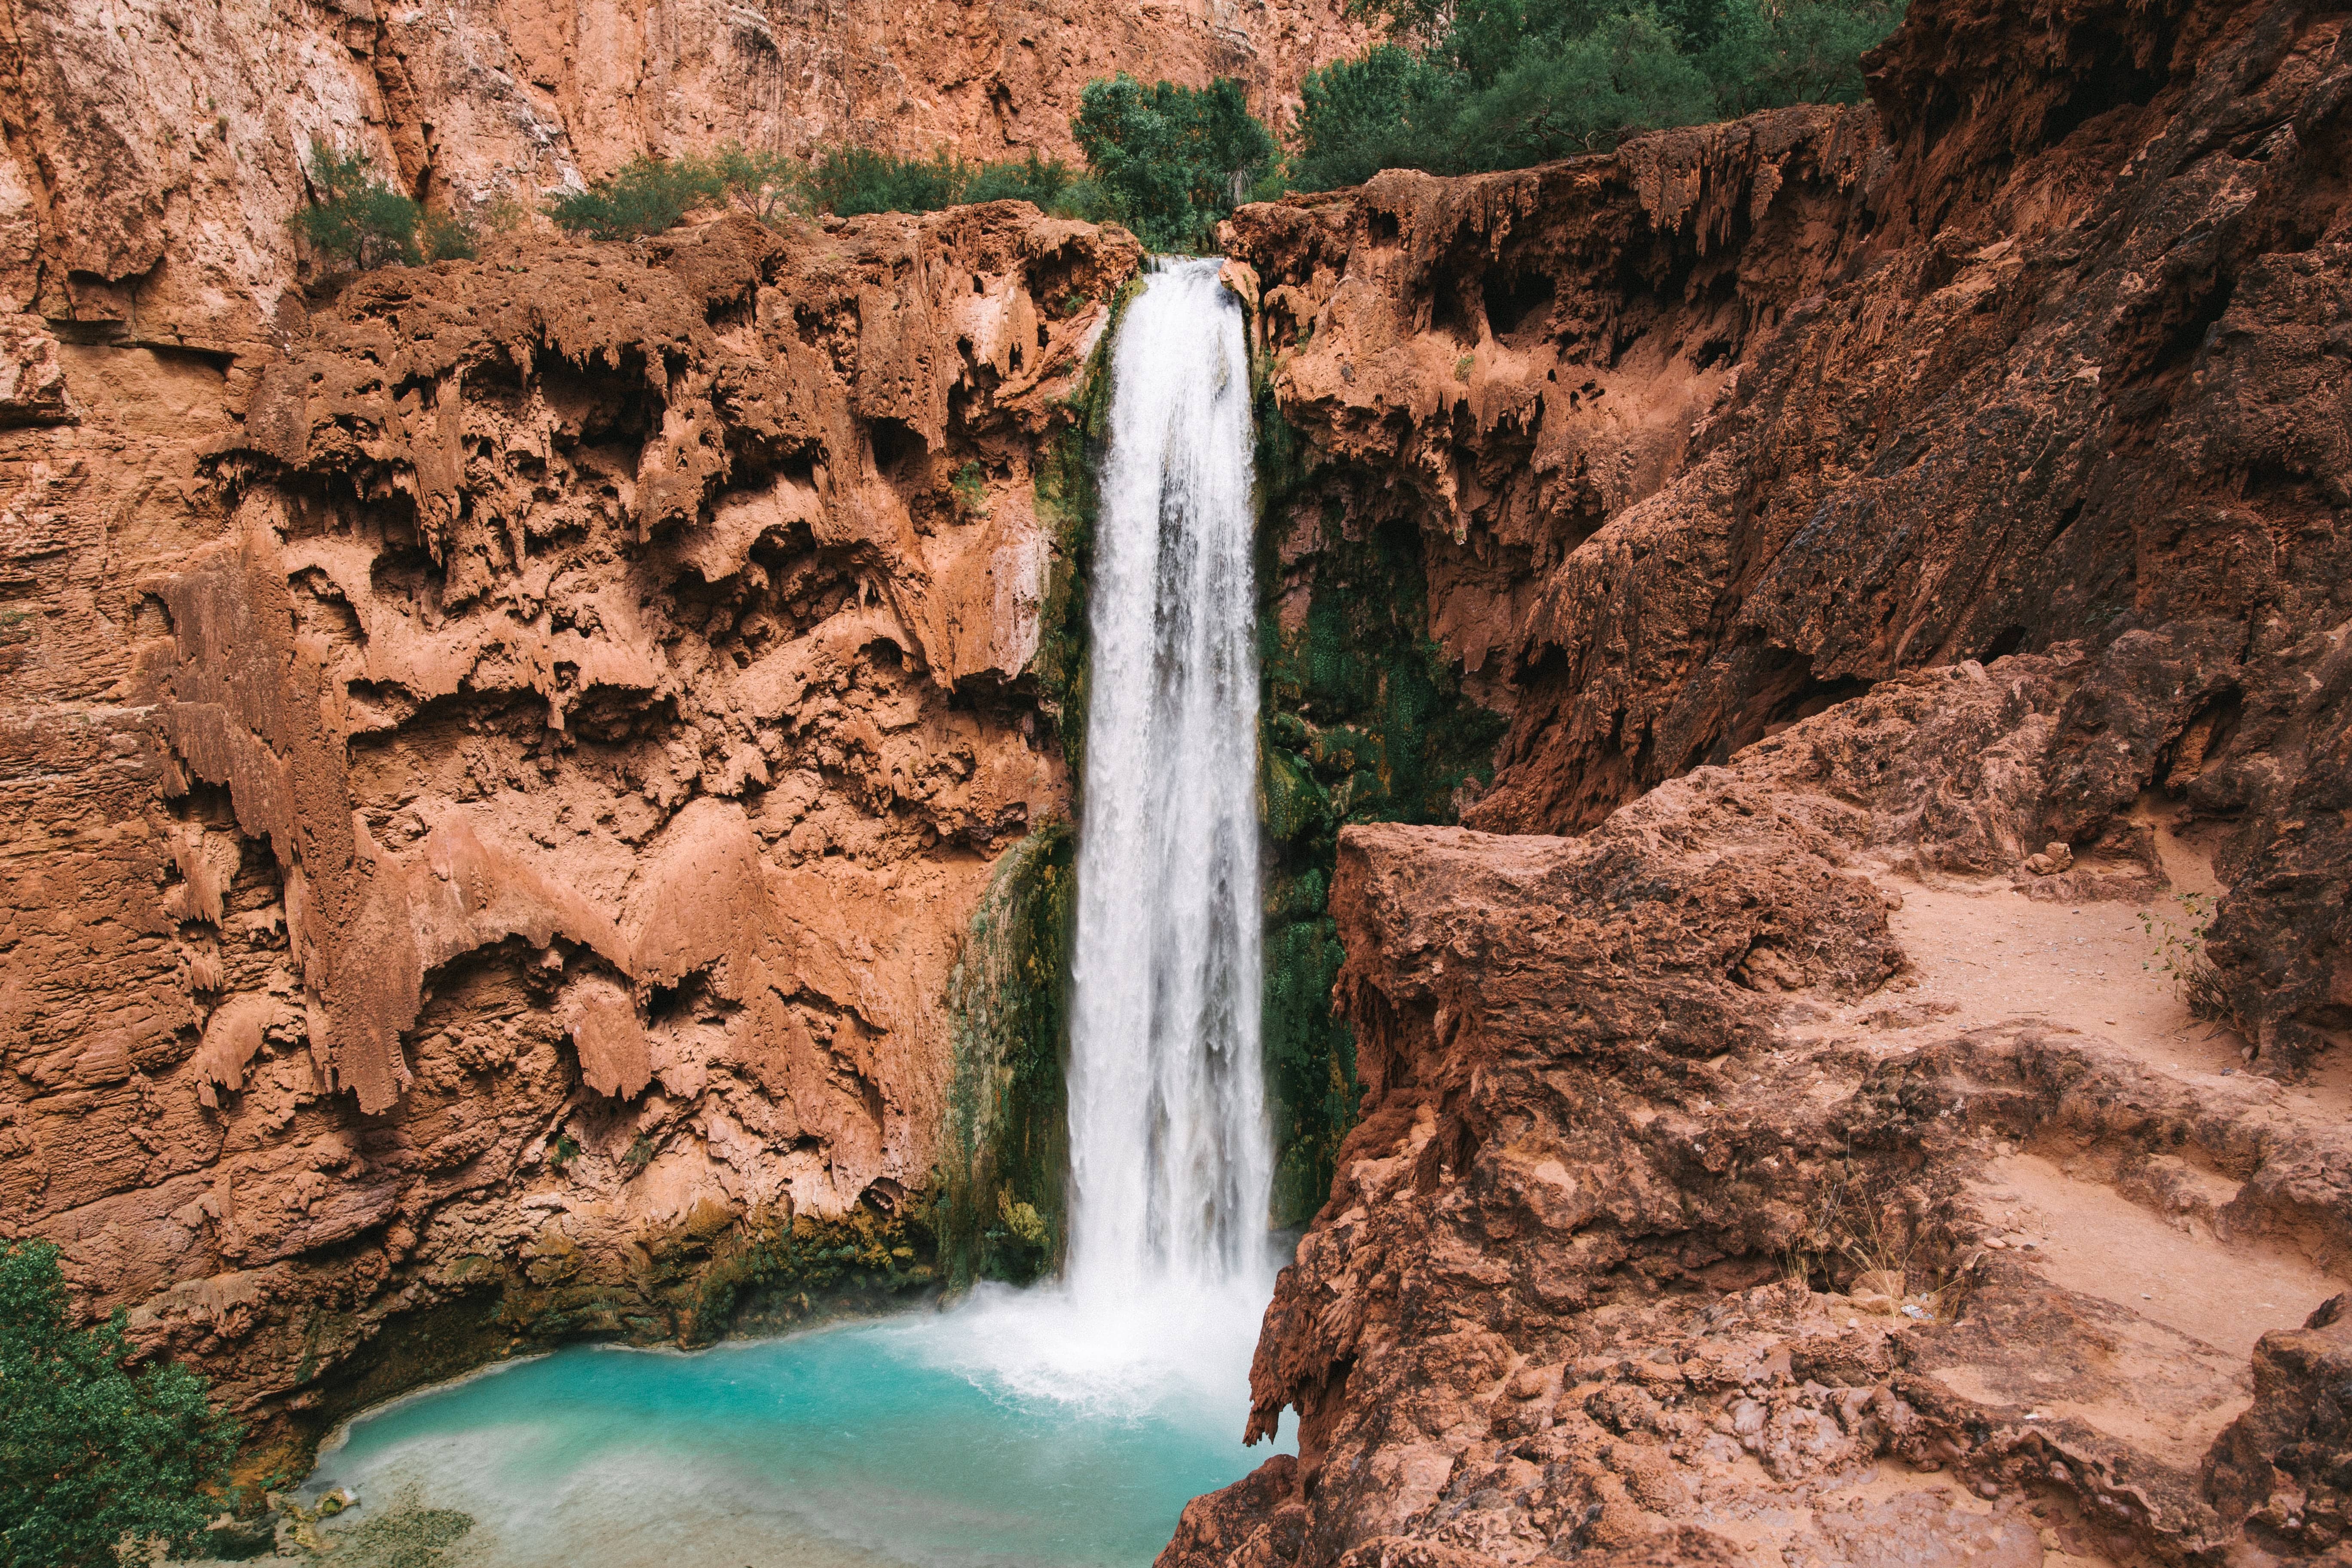
The area was under a flash flood watch, and we were all a little on edge about the possibility of flash flooding, but our spotty Wi-Fi service and the printed 10-day forecast posted at the lodge told us we would have clear skies for the morning. We got up early to start the hike down past the campsites, to Mooney Falls and then to Beaver Falls. Some of us thought we knew what we were getting into with the hike down to Mooney falls, but we soon found, you don’t really know until you KNOW. After passing through the campgrounds, you are pretty much at the falls. You start by winding down some steep, but manageable steps and through two small rock tunnels. Then you are at the top of the treacherous scramble down to the falls. Mooney Falls is huge, so as you are slowly lowering down you are being soaked with spray from the waterfall behind you. There are decent feet and hand holds, but you are almost vertical climbing down and I was quite nervous. We slowly made progress, being careful not to look down (as much as I wanted to take in the views!) and while I didn’t find it to be slippery, I was cautious that I had a good grip before taking each step. Near the end, when my legs and mind were shaky at best you get to two worn ladders. A few deep breaths and the mantra “it’s just a ladder” and we finally made it down. I promise it’s worth it! I recommend bringing gloves of some kind (most of our group used gardening/work gloves that they already owned) to help hold onto the wet chains. Depending on when you go, there can be a long line to go down or up, so be prepared to wait. The entire descent only takes about 10-15 minutes (feels like an hour 😉) and less time on the way up.
We chose not to stop and swim at Mooney Falls, though if you do, be mindful not to get too close to the falls as it is not safe to swim around or behind. After that you can recalibrate for a nice easy hike with a few mild river crossings to get to Beaver Falls. We stopped here, had lunch and a swim. As relaxing as it was, we wanted to start heading back before the forecasted afternoon rain. About a mile into our hike back it started raining, and since our trepidation about the flash floods was on our mind, we made quick time back to the base of Mooney. We crossed paths with the ranger who was headed to Beaver Falls to tell everyone to come back, which only added to our anxiety. Not only did we want to get out of the rain we didn’t want to be stuck at the bottom of Mooney waiting for a long line of people to ascend. The river crossings were a little faster/deeper than on the way out and it was full on pouring for our climb up Mooney Falls. The first tunnel at the top of the climb turned into its own mini waterfall from the rain, which pelted our faces as we made it to the top. After the adrenaline wore off and we made our way back to the village we stopped at the café for the famous fry bread. We smothered ours in Nutella, powdered sugar and honey and then happily enjoyed a warm shower and comfortable bed.
Day 3
As much as I really, really didn’t want to do the hike down to Mooney Falls again, I also didn’t want to pass up the opportunity to hike to the confluence (where the Colorado River meets Havasu Creek). There was various information about how many miles it would actually be to the confluence. We figured somewhere between 18 miles and 24 miles round trip, and we really hoped it was closer to the 18 mark.
In the end, we think we were between 22- and 26-miles round trip, with a few wrong turns and missed river crossings forcing us to back track. In all, including breaks and lunch we were out for about 11 hours. The rangers say if you are planning to hike there you should be past Beaver Falls by 10:30am. Once you pass the swimming area of Beaver you climb up, then down a big ridge (more scary scrambling for me!). There is a beautiful view of Beaver Falls from up there, so even if you don’t hike to the confluence you may want to hike up there for the scenery. After that ridge it is a relatively straightforward hike, just be smarter than we were and remember where you crossed the river! On the way back we were confused (and tired) and had a lot of trouble figuring out where to cross to get over the ridge again. Maybe even take pictures as you go, it seems like it will be obvious, but when you are fatigued it’s better to be sure and everything looks different on the way back.
Hiking along we ran into a couple herds of big horn sheep. While most seemed to be in family groups and there was one lone male who was RIGHT on the trail. When we saw him, we briskly (and calmly-ish) retreated, he followed us for a bit and doing our best not to panic we sheltered behind some big rocks. When he stopped following us, he moved off trail enough to give us space, and then mercifully laid down. We picked up some large branches and rocks just in case and slowly passed by assuring him we were no threat, although he seemed to have already concluded that.
As the milage stacked up each bend in the trail that didn’t reveal the confluence was disheartening. We hadn’t seen anyone else from the campsite since we set out and it was starting to feel like we weren’t going to make it. Then we came across a large group that were on a river rafting trip, they assured us it was “just over there”. We made what we hoped was one final river crossing, scaled up some rocks and at last, the mighty Colorado river. The sense of accomplishment and the awe-inspiring site left us breathless. We gave ourselves a precious 20 minutes to eat, relish the moment and soak it all in before starting the 11(ish) mile hike back.
Day 4
The last day of our permits meant time to make the trek out of the canyon. An 8-mile hike from the village, we knew we wanted to start early to avoid being on the steep, exposed hill during the afternoon, so we set out around 6 am. Most of the hike is flat, but the last 1.5-2 miles is up the steep hillside of the canyon. We all took it at our own pace and in total it took us 3.5-5 hours to reach the trailhead (don’t forget to account for an additional 2 miles if leaving from the campsite!). We left feeling so grateful for the opportunity to experience this incredible, remote place. How is it you can leave a piece of yourself somewhere, but also come back feeling more full than ever?


Tips:
Bring a garbage back or two to carry your trash out. If you have an extra bag and some time, take 10 minutes to pick up along the trail or at the trailhead when you leave.
Wear gloves for the hike to/from Mooney Falls
Have a good pair of water shoes for river crossings and of course a good supportive hiking boot. The rocks and steepness of the trails can cause a lot of foot issues
While helicoptering in and out is an option if needed, I recommend avoiding using mules to carry your packs in or out.
The fry bread is amazing, but don’t count on the food stand to be open reliable hours, make sure to bring plenty of food for your stay.
There is fresh spring water available, which may be safe to drink without sterilizing, but I like to use a steripen for all water, this also gives you the option to refill from the river as you are hiking.
Visit https://www.theofficialhavasupaitribe.com/ for the most up to date and accurate information, rules and instructions.
Getting Permits
Follow the Havasupai facebook page and check back to the reservations website havasupaireservations.com for up to date information. Right now, you can visit the reservations website for a list of campground cancellations (you must create an account first) that are available as well as lodge dates. There seem to be several available options for both in the next couple of months. Information for 2024 reservations has not been released yet.
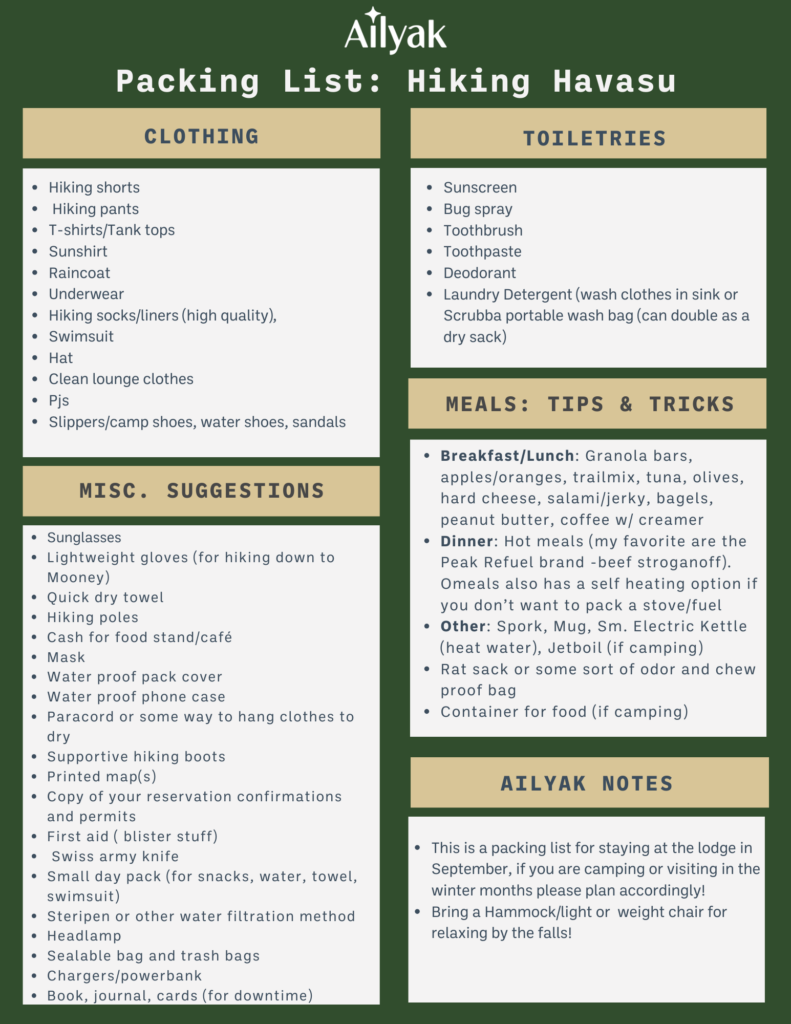
Packing List (this is my packing list for staying at the lodge in September, if you are camping or visiting in the winter months please plan accordingly!)
- Clothing-Hiking shorts, hiking pants, t-shirts/tank tops, sun shirt, rain coat, underwear/bras, good hiking socks and liners, swimsuit, hat, rain coat, clean lounge clothes, pjs. I also brought slipper/camp shoes, but didn’t need them in the lodge. At the campsite you will probably want something comfy to wear around camp.
- Sunglasses
- Sunscreen, bug spray, toothbrush, toothpaste, other toiletries-we had no bugs while we were there, but I have read that certain months bug spray is necessary
- Good book, journal, cards, etc for down time
- Meals-I like easy/light breakfasts and lunches such as granola bars, apples/oranges, trailmix, tuna, olives, hard cheese, salami/jerky, bagels, peanut butter, we also planned for coffee w/ creamer. Dinners I did hot meals, my favorite are the Peak Refuel brand especially the beef stroganoff. Omeals also has a self heating option if you don’t want to pack a stove/fuel
- Utensils-I was fine with just a spork and a mug for coffee
- A way to heat water-one person in our group brought a small electric kettle, it held about 1.5 cups of water and worked great for all of us to share for coffee and meals. If you are camping you will need fuel or some other way to heat water, the jetboil is a great option
- Rat sack or some sort of odor and chew proof bag-this wasn’t an issue for us especially being in the lodge, but I was concerned about leaving our packs with food out when we were swimming. If you are camping you need something to store your food
- Lightweight gloves for hiking down to Mooney
- Quick dry towel
- Hiking poles (we only used these when we had our big packs on, for the hike in and out and they were a huge help)
- Cash for food stand/café
- Mask
- water proof pack cover, water proof phone case (if you want to use your phone for pictures near/in the falls)
- Paracord or some way to hang clothes to dry, even in the lodge we used this!
- Water shoes/sandals-something easy to take on and off and/or that you will want to hike in for a little bit. There are lots of river crossings and it can be a pain to switch shoes every time.
- Supportive hiking boots
- Printed map(s)
- Copy of your reservation confirmations and permits after you get them
- First aid, blister stuff, swiss army knife
- Small day pack-for snacks, water, towel, swimsuit
- Steripen or other water filtration method
- Headlamp
- Sealable bag and trashbags-it’s nice to have a sealable bag that can go into a larger trash bag to avoid any leaks into your pack.
- Chargers/powerbank
*optional items
- laundry detergent for washing clothes in the sink or I used the Scrubba portable wash bag, which worked great. This bag could also double as a dry sack when on day hikes.
- Hammock/light weight chair for relaxing by the falls
- Extra shoes, clothes to keep in the car for after
